By John Stoltenborg
At Portland Webworks we use continuous integration, the process of frequent testing and deployment of the software, to deliver higher quality products at a lower cost.
- Automation means less overhead during the development process
- A tightened feedback loop means increased communication on multiple developer teams
- Increased quality means better software and lower maintenance costs over the life of the product
This will be a brief overview of the configuration of a Jenkins build server for a Yeoman workflow based AngularJS web application.
We will be making use of headless testing courtesy of PhantomJS and Karma runner, then outputting the results in JUnit format. Jenkins will consume this format and provide test results in the project views.
Let’s get started.
Ready the build server
We are running Jenkins on an AWS machine running Amazon Linux AMI.
At the time of this publication, there is no package in the Yum Package Manager for installing NodeJS by default, but you can enable the EPEL Repository maintained by Fedora if you like.
For this example, we will grab a binary and moved it into place like so:
Make sure your symlinks check out and Node runs:
One other option to manage your Node installation is to clone the repo from Github and roll your own.
Globally install necessary Node packages
Now that we have Node installed, let’s install packages that our project requires globally.
You may run into dependency issues during this process. Some searching around will lead you to resolution, or you can define specific versions to install to make things happy. For example,
Let’s turn our attention back to our project workspace and do some configuration for the build.
Prepare your Gruntfile and project dependencies
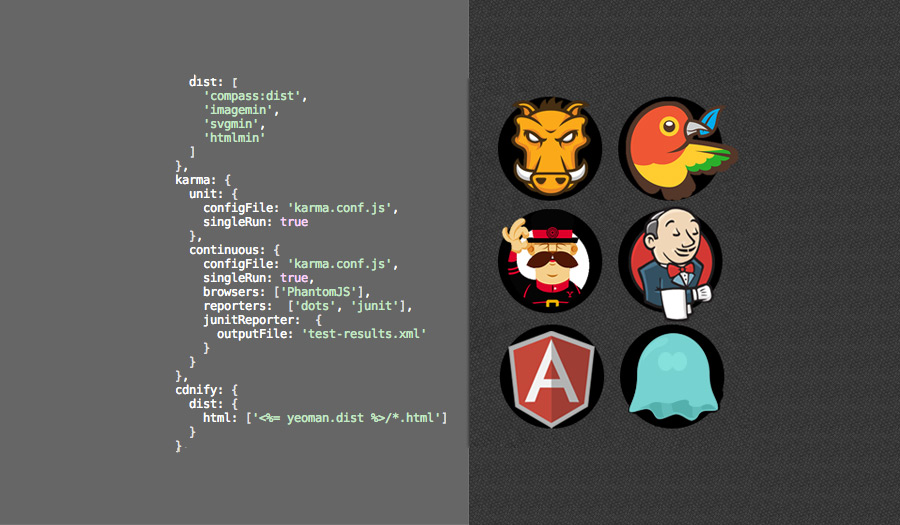
In the Grunt configuration file, add a testing profile that uses PhantomJS and runs once. Note the JUnit reporter, which exports the test results in JUnit formatted XML for Jenkins to parse.
The config file we specify, karma.conf.js, provides defaults for other settings not defined here and is overridden by those we have defined.
… and configure compression of the dist directory into a target directory so we have an artifact to access through Jenkins as well as to copy to another environment for deployment.
Then, register a new task in the Grunt configuration file that leverages the new testing and compression functionality you defined,
… and sandwiches our current build task, defined as,
Now on to Jenkins to create the new job.
Call in the Butler
In Jenkins, let’s create a new job and configure it to check out the appropriate repository. There are a host of settings to consider, such as polling the repo for changes and limiting build history, that you can explore outside the scope of this guide.
In the Build Environment section, check “Inject environment variables to the build process” and then in the “Properties Content” you’ll set the location of the phantomjs binary:
Then, under the Build menu in the build configuration area, add a build step “Execute Shell” with the following command:
This installs project specific Node packages, installs packages defined in Bower, then runs the Grunt ‘cibuild’ task that we registered in the Grunt configuration file.
Next, add a post-build action to archive the artifact. It will be accessible through the Jenkins web view for each build.

Lastly, add another post-build action to “Publish JUnit test result report” and give the filename of the xml output you defined in your Gruntfile. In our case it’s test-results.xml and its put by default into the root of the workspace.

Build results
A successful build means that our tests pass, the grunt build task is run, and a compressed artifact is created. The results of the Karma tests are picked up by Jenkins, and we begin to see results in our build views:


After two builds, a trend graph will appear on the job page.

Conclusion
I hope aspects of this approach are useful for integration into your project. In the coming months I will be sharing more of the software development lifecycle conventions we employ to deliver high quality software products at a lower cost to our clients.
I welcome your feedback in the comments, or by email to john@ this domain.